Notice: Undefined variable: numOfThumbnails in /home/f0d2ig0bjaks/public_html/wp-content/themes/BLANK-Theme6/single.php on line 72
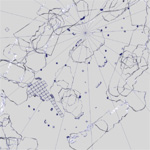
One of my Grapple tasks was to work on the minimap. Originally, I was simply going to outline the borders of the mountains and buildings, but I quickly realized there could be some problems with that. There were many areas of higher elevation that covered navigable ground below them. The most noticeable example was a large platform far above that covered the ground below it–ground that Amina could (and would) easily and commonly walk on. If I used this platform as part of the map’s border, and Amina were to walk below it, it would look like she were breaching the bounds of the level. Likewise, the game’s multistory buildings had the same issue with their multiple roofs. So the question became, “How can I design the map so that Amina never hits an ‘invisible wall’ or breaches a wall?”
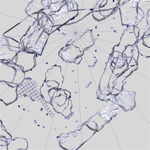
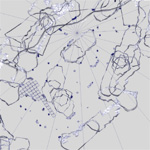
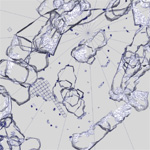
One idea I had was to outline different borders at different elevations. Then perhaps in game, all of the elevation layers would be visible in the minimap with those closest to Amina’s height being the most opaque and the ones farthest from her height being the most transparent. The opacity of the different borders would constantly change as Amina grappled through the level. This way, all of the borders would always be visible on the map, but only the most relevant borders (those at Amina’s height) would be emphasized.
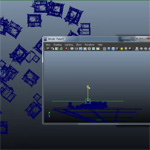
So how could I accomplish this? I had the level in Maya, so I needed to adjust the near/far clip planes of the top camera. That, however, quickly proved to be a hassle that I didn’t want to deal with… at least not by guessing and checking the clip plane values. It was taking far too long. If only there were a way to visualize the clip planes’ positions, then I’d at least be able to see how far off my guesses were… I couldn’t find a way, so I made one myself (if there is a native way in Maya, then I feel silly >_>).
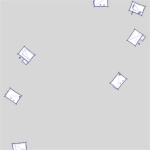
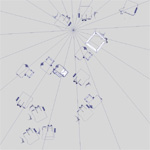
I created two planes and tied their Y positions to the values of the camera’s clip planes with simple expressions. Now I was not only able to visualize the clip planes, but I was also able to move them directly (versus typing in a value, hitting enter, typing in another value, hitting enter, etc.). This setup made the whole process infinitely easier and faster. I could simply sandwich the area that I wanted to outline between the two planes, and I would get just the lines I needed without the outlines of objects above or below that area covering the lines I wanted.
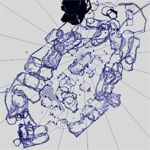
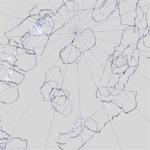
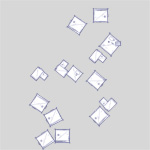
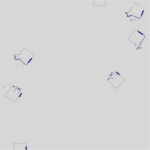
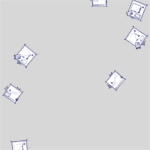
With this setup I rendered out the outlines of different elevations in the level and then drew over them in Photoshop to give the map a hand drawn look.
Unfortunately due to time constraints, we were not able to try out the map transitioning between elevations. Regardless, this method did help in creating the final map, plus it was a neat and effective solution (I thought :P) to a problem that I had not only encountered in this task but also in the past (and likely in the future).


